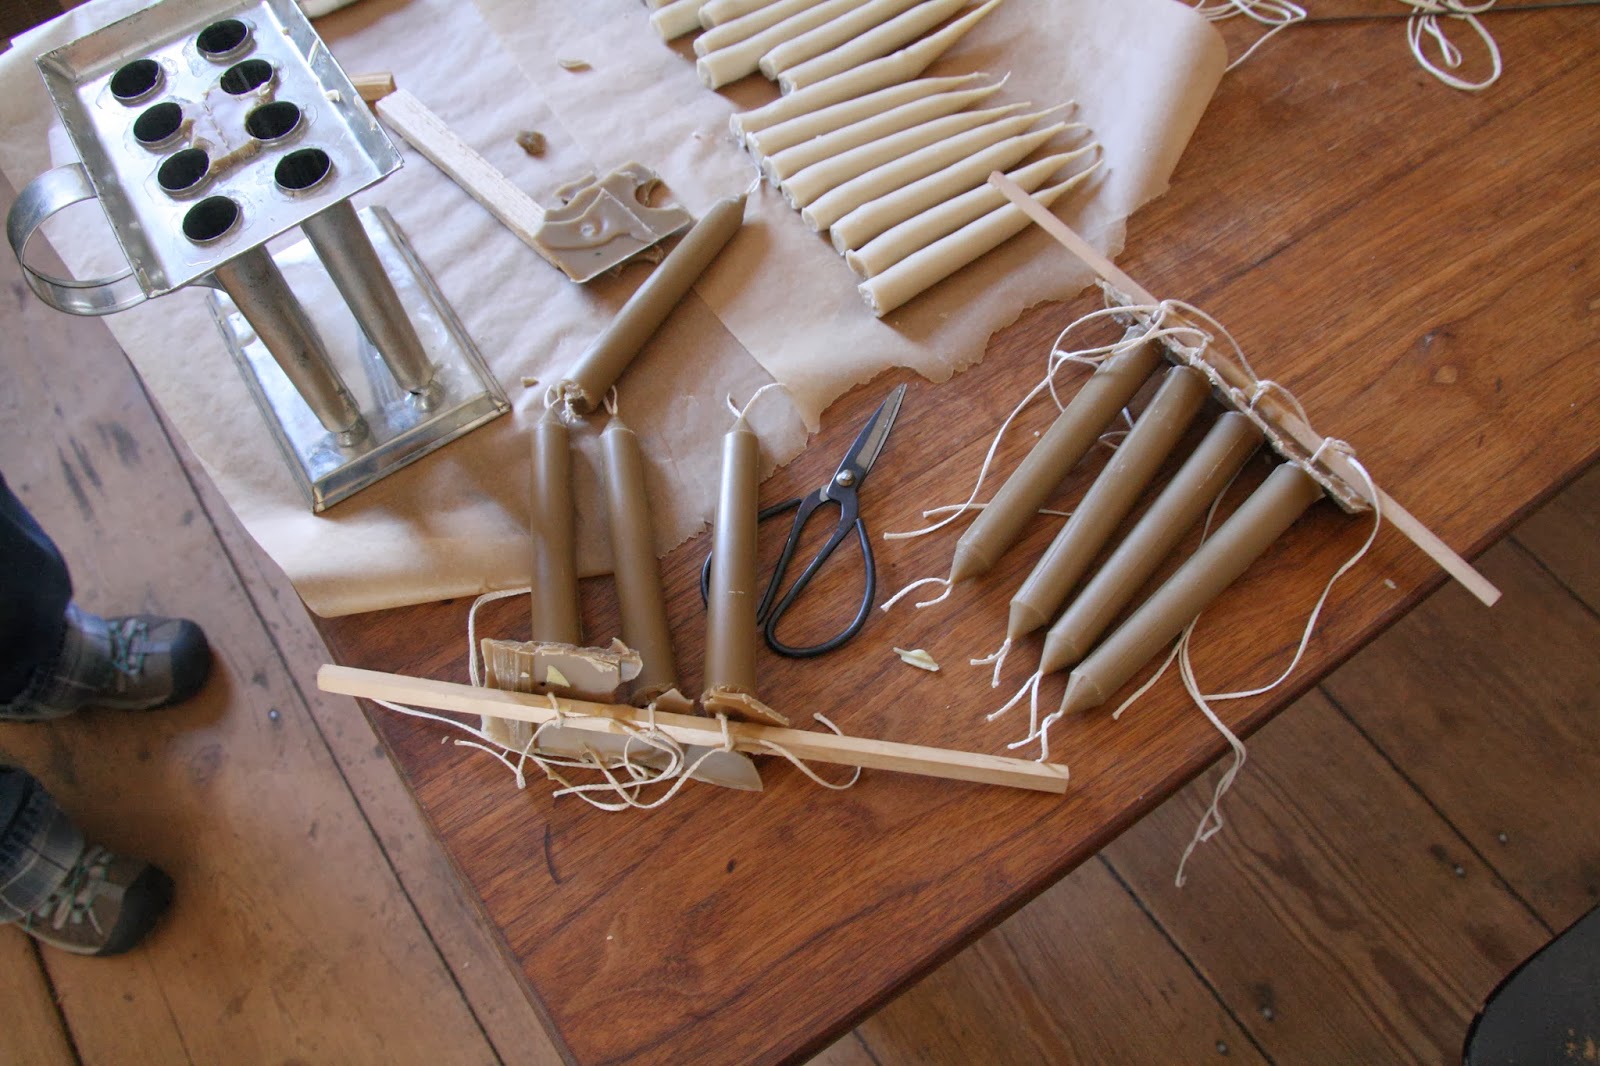
If you've been reading our blog lately, you'll know that I have been traveling to Old Salem for "living history lessons." After my first lesson in bread baking, Cindy, my friend and mentor there, offered to teach me how to make tallow candles. So, we set a date in January and began praying to the Candle Gods for the cold weather required to dip tallow candles. We were richly rewarded. Old Salem was actually closed because of inclement weather on the the day of our schedule lesson (or "play date" as Cindy and I called it), but Cindy came in anyway and went through the whole process with me. We spent the afternoon dipping and molding, a procedure you can see documented in pictures below. Now, I have a bundle of tallow candles to add to my growing collection of "artifacts" that I've made on my journey back to my rightful century.
Candle making supplies, including beeswax and a jar of rendered beef tallow, which Cindy had prepared a few weeks ahead by repeatedly boiling beef fat and skimming off impurities.
Melting the tallow on the fire. (Water is added to the tallow as it is melted in an iron cauldron. Beeswax can be added to give firmness to the candles. Pure beeswax, however, must be melted in a "double boiler" to prevent burning.)
The pot of melted tallow and the candle wheel, which makes quicker and neater work of the dipping process.
We determined that shorter wicks worked best with this particular pot.
The finished candles.
Cindy threading the wicks through the candle molds. (Molded candles are made with a higher percentage of beeswax. They require much more preparation time than dipped candles, but they look and smell lovely.)
The wicks are looped around a fabric "bolster" at the tip of the molds to prevent wax from leaking out.
The bottoms of the wicks are pulled very tightly and tied around wooden sticks to hold them in place while the candles set up.
Now, it's time to pour the beeswax/tallow mixture in the molds. Once filled, the mold should be placed in a cool place until the wax is sufficiently hardened and has started to pull away from the sides of the mold "lips." (The weather doesn't have to be as cold for molded candles as for dipped ones, though it must be cool enough for the wax to fully harden.)
Another picture of the filled mold.
The candles have emerged!
The following day, Cindy, Coreen (Cindy's assistant), and I made seed cake, "sugar bisketts," and rusk, which we baked in the outdoor oven. Seed cake, a sweet yeasted cake filled with dried fruits and caraway seeds, was traditionally served along with ale to field workers during the wheat harvest. It is one of my favorites. The recipe for "Sugar Bisketts" (basically a shortbread cookie to which I added lemon and orange zest) came from an 18th century receipt (recipe) book found in a doctor's house in Mechanicsville, VA in 1862. The manuscript is now in the collection at Old Salem. And rusk, which I had never heard of before, is a yeast roll like the kind you would get at O'Charley's--but much better!


